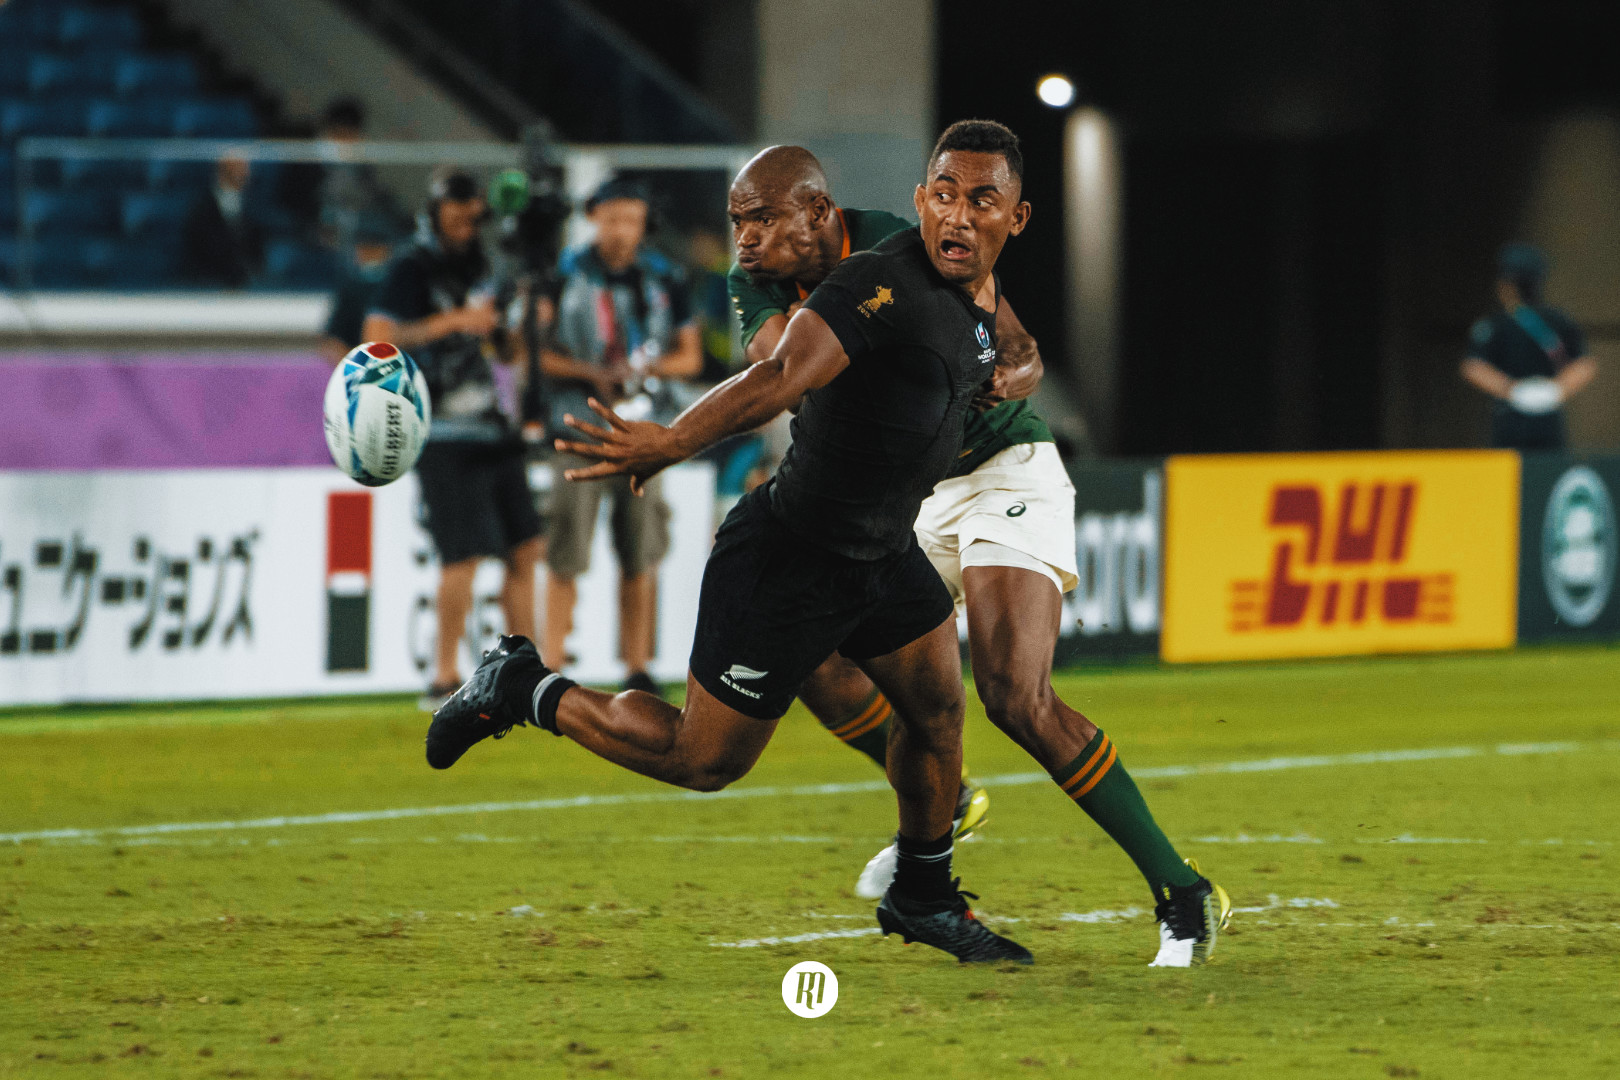
New Zealand tactically out thought, and out fought South Africa.
Throughout the game they looked to remove many of South Africa’s tactical options allowing them to weather the Bokkes physical onslaught. Below we’ll attempt to outline four key areas New Zealand we’re tactically more astute than South Africa. Example One: Remove SA Options South Africa started this game with a common kick off set up of the 15 middle of the pitch and on
Throughout the game they looked to remove many of South Africa’s tactical options allowing them to weather the Bokkes physical onslaught.
Below we’ll attempt to outline four key areas New Zealand we’re tactically more astute than South Africa.
Example One: Remove SA Options
South Africa started this game with a common kick off set up of the 15 middle of the pitch and on the 22.
The idea is to put their two strongest kickers Pollard and de Klerk in the middle of the 22, protecting them. This pushes Le Roux, as a high ball specialist, forward but allows him to drop into the 2nd receiver position for the left footed sweeper kick after the ruck.
However the All Blacks wise to this put all of their restarts straight to Le Roux. That removes South Africa’s left and right kicking option and means that South Africa were always going to play the right touch line.
Interestingly NZ didn’t kick into the corner and remove the left right option by way of pinning South Africa into that left corner. For a couple of reasons:
- Remove Le Roux as a kick option as he’s at the bottom of the ruck.
- Create a channel they can attack from fielding the kick if if doesn’t go out.
- When Barrett runs the ball back he can kick to chase knowing Le Roux is not in position at 15 to field a kick. (It nearly works).
- If Le Roux misfields and they regather they are right in front of the posts just outside of the 22
- If they win a penalty they are right in front of the posts.
That final point is interesting as with Le Roux coming forward and his support coming back winning a penalty for holding on isn’t outside the realms of possibility.
We see it here with the first kick off:
And here with Kick Offs 2-4:
Example Two: Kick to Regain, Remove the threat, Exploit
New Zealand kicked 60% of their possession and within that they kicked 33% to regain. That’s quite telling.
What it shows me is that they continually looked to pull the South African back three forward and make them engage in the contact area. This meant that their main counter attack options off the next phase were removed and they reverted to one out rugby.
If NZ regained the ball they were able to quickly move the ball away from the are of contest and it was a key moment in both their first half tries:
In this video by World Rugby’s Analysts Simon Gleave and Sam Larner we can see it work perfectly with George Bridge: https://www.rugbyworldcup.com/news/476728.
This from the @allblacks was special.#RWC2019 #NZLvRSA pic.twitter.com/GqrUzD6GLO
&mda — Rugby World Cup (@rugbyworldcup) September 22, 2019
It was also less obviously present in the Scott Barrett Try but again this comes from the All Blacks kicking to isolate:
When they regain the ball they look to quickly move the ball wide and we can see the space is there and Kolbe is on his own, but they don't have the numbers so Barrett opts instead to carry to the line to hold the defence:
As they recycle the space is still there and Kolbe is still isolated but again as the numbers aren’t quite superior they again opt to set and rewind in the opposite direction and look to get the ball wide to Savea in this space and use a phase to preserve the space before Barrett slings a long looping pass to Savea:
As the ball again comes out, de Klerk shoots and Barrett takes the gap. Importantly for the next phase Mapimpi is still at the ruck.
As the AB’s move the ball the space and numbers are there and they come quickly left. Coles drifts when he perhaps should have straightened and and also takes it a tad too far closing off Leinart-Brown’s space in the 15 channel.
So he cuts in, attacking the rapidly sliding defence and when he makes the break he’s left with only Le Roux to beat with Barrett in a 2v1 as Mapimpi is still moving back from the previous ruck.
It’s a small detail but we can see how the kick and quick movement of the ball creates space, isolates the wingers and causes issues further down the track.
South Africa eventually countered this by dropping Vermeulen back into the pocket but the damage was already done.
NZ Defensive Intelligence
An interesting thing about the South African attack is how slow they were to get a round the corner ready for the carry into the NZ defence. What we saw was a lot of 3 man pods, but with the point carrier the only real option.
This meant NZ were able to just concentrate on chopping the ball carrier low. Leaving their outside/spare defender free to attack the space beyond the ball.
This often made the SA ball slow and messy and as such they were never really coming onto the ball with any real pace and were unable to get into their preferred attacking shape. This meant we saw very little of the South Africans ability to pass in behind the primary runner and fix the defence.
It led to a relatively static attack from South Africa throughout the game as a demonstration lets run through this sequence in the second half.
South Africa Counter Attack and set up in the All Blacks 22 as de Klerk works the phases we can see the All Blacks working in pairs to slow down hunt the turnover:
As the Springbok rewind we can see they are slow to set up resulting in Peter Steph Du Toit getting hit back in the tackle:
That lack of forward momentum leads to another slow set up, and we can see the All Blacks are set, ready to meet the Springboks and the result is a turn over:
Once the ball is turned over the All Blacks counter attack, and possibly Barrett makes a poor decision, with much support on the inside and lots of space to attack into perhaps he could have stayed alive a little longer and looked inside.
The result is a long kick that South Africa clean up. A net gain for the All Blacks that perhaps could have been more:
Example Four: Remove the Springboks Line speed with ball in hand
Early on in the game we saw South Africa build a lot of momentum through their intense line speed and physical defence.
New Zealand stopped moving the ball wide early and instead opted to bounce their play back and forth along the same channel - nullifying the South African line speed:
This lead to slow line speed on the inside channels and this is where Barrett as second playmaker tried to attack and stress the SA defence. Turning them in allowing them to get to the outer edge and specifically Cheslin Kolbe's side of the pitch.
It was by far the strongest showing of any team over the weekend. New Zealand showing a tactical awareness and an ability to execute a game plan that few beside Ireland demonstrated.
It will be interesting to see how teams respond, it will also be interesting to see if New Zealand will be able to bring a similar level of execution to the play off stages after a softer run into the Quarter Finals.

Filed under:
International, Rugby Championship, Match Analysis, New Zealand, South Africa
Written by: Graeme Forbes
Follow: @thedeadballarea · @therugbymag


