Analysis: How the 2003 Rugby World Cup final acted as a precursor to modern rugby
With the 2019 World Cup final a matter of days away, I decided to go back to the 2003 World Cup, to try and apply analysis to some of the key moments in those games. In doing so I decided to settle on running the video on England's World Cup win and the game's two tries, scored by Lote Tiquri and Jason Robinson.
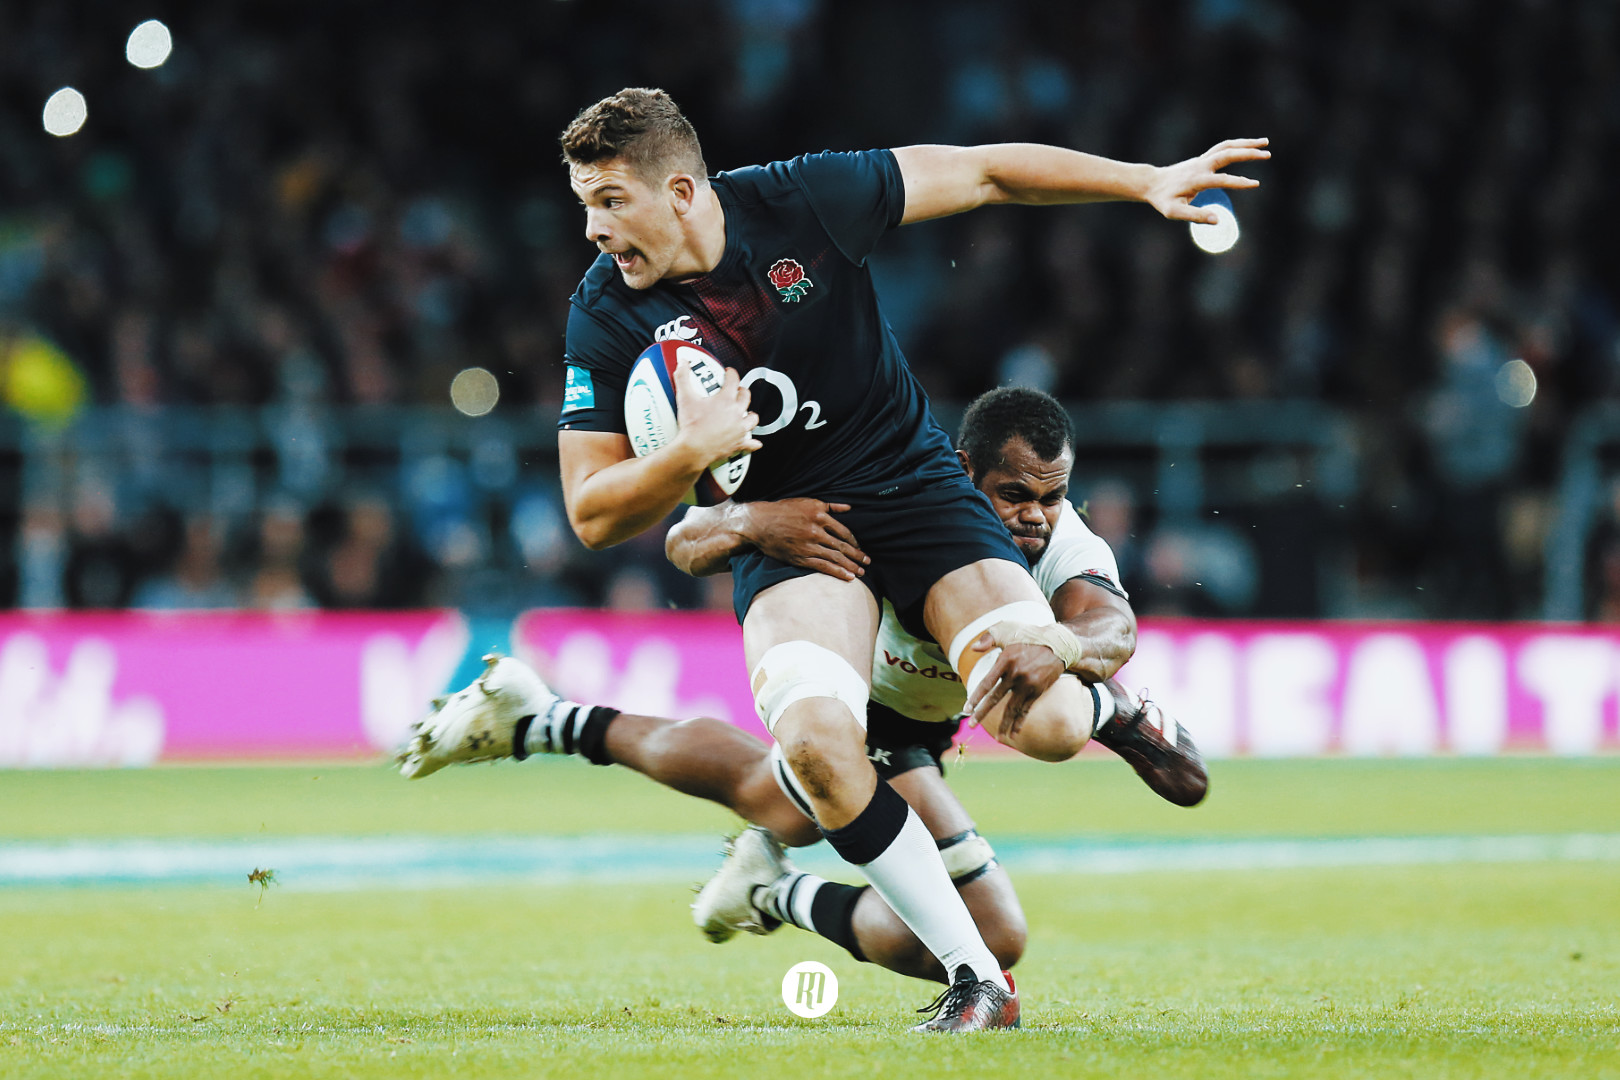
Why Rugby World Cup 2003? Well, because I’m English, the team are arguably in stronger form than their 03 counterparts and also because I think this is where the game truly showed it was modernising.
It may have been professional since the 95/96 season, but by the time the 1999 World Cup came around it was still mainly an amateur sport in all but name. That’s not to criticise the players and teams of the time, they were changing the game at a rapid rate. But 2003, in my eyes, completely changed that, taking it forward in such a leap it was almost a new sport at times.
We saw a real separation between the Tier 1 and Tier 2 nations and whilst some of the latter gave the big guys a scare, they were never really in it for anything other than making it an actual tournament.
Ultimately England were, at the time, the obvious benchmark on professionalism. Australia, New Zealand and South Africa close on their heels. With France and Wales turning up to the party, the end result was a fantastically intense and atmospheric World Cup culminating in a final that was one of the best games of rugby I’ve ever seen.
Now, before you “@me”, it’s easy to assume that such a tight affair would be a dire arm-wrestle of a game. After all, only 2 tries, a multitude of penalty kicks, the game finally settled on a drop kick? Awful, right?
While it was certainly a tense affair on review it’s a pretty great game, purely from a spectators point of view.
England adapted and changed throughout the match and were far from the 10-man stereotype the press made them out to be. Sure, they were pragmatic at times but that’s just because their game management was way out ahead of everyone except the Australians - who, under Eddie Jones, brought some shrewd tactical awareness to the tournament that very nearly got them back-to-back titles.
In reality, both teams played with plenty of pace, moving the ball quickly through phases, opting for a high tempo game that in difficult conditions wasn’t the easiest to execute but made the match highly entertaining.
Handling errors had a big impact on that ambition, England recording 15 errors in the full game. Clive Woodward's English outfit, for example, averaged 3.5 passes off the set-piece and 1.5 passes per phase. In total, they made 167 passes and ran through 99 rucks during the entire game (including extra time).
We must also remember this was back when ball-in-play time was a lot lower than the current standard and defences were only just getting to grip with the league-style blitz defences. The speed of this game and the physicality showed on the fitness levels of the teams, the players were almost out on their feet towards the end of the second half.
Australia played similarly, moving the ball to the outer channels when they could, resulting in England making around 93 tackles and defending 79 rucks.
Neither side played edge-to-edge rugby, nor did they play not one-out stuff. Both England and Australia's back three saw plenty of action in attack.
Tactically, England kicked from hand 30 times (25 times for territory) and while most will (perhaps unfairly) remember Wilkinson as a kicking fly-half, in this final he generally kicked only to relieve pressure and a large chunk of the tactical kicking was done by way of Mike Tindall's booming right boot.
Dave Alred brought a level of consistency and skill to England's kicking game, well beyond Wilkinsons brilliant form off the tea, developing Mike Tindall and Jason Robinson into key kicking weapons in England's arsenal.
In fact, both teams opted to use sweeper kicks to clear the lines rather than box kicks from nine (which hadn’t really even entered rugby's fledgling tactical play book) Australia using Matt Rogers huge cannon of a right boot to both clear their lines and play tactically.
Again, this is before the pendulum system or twin fullback systems of today’s game had really bedded in.
As a result, we see that statistically England had:
- 47% of the territory
- 55% of the possession
- 8/14 Penalties (36% of penalties)
Attacking-wise we saw the use of wingers hunting for work, the kick pass from both sides (more on that in a second), Australia using league style block and slide plays (as part of a set move not in general play) and two absolutely super tries, which I really want to break down in more detail.
The first try of the game from Australia was, for me, a brilliant example of identifying and playing what’s in front of you.
First blood, Australia
5 minutes into the game Australia won a penalty due to a Trevor Woodman short arm to Nathan Sharp and kicked for the corner, where after a poor lineout in which England conceded a freekick they set up to launch what looked like a standard backs move, attacking from just outside the English 22.
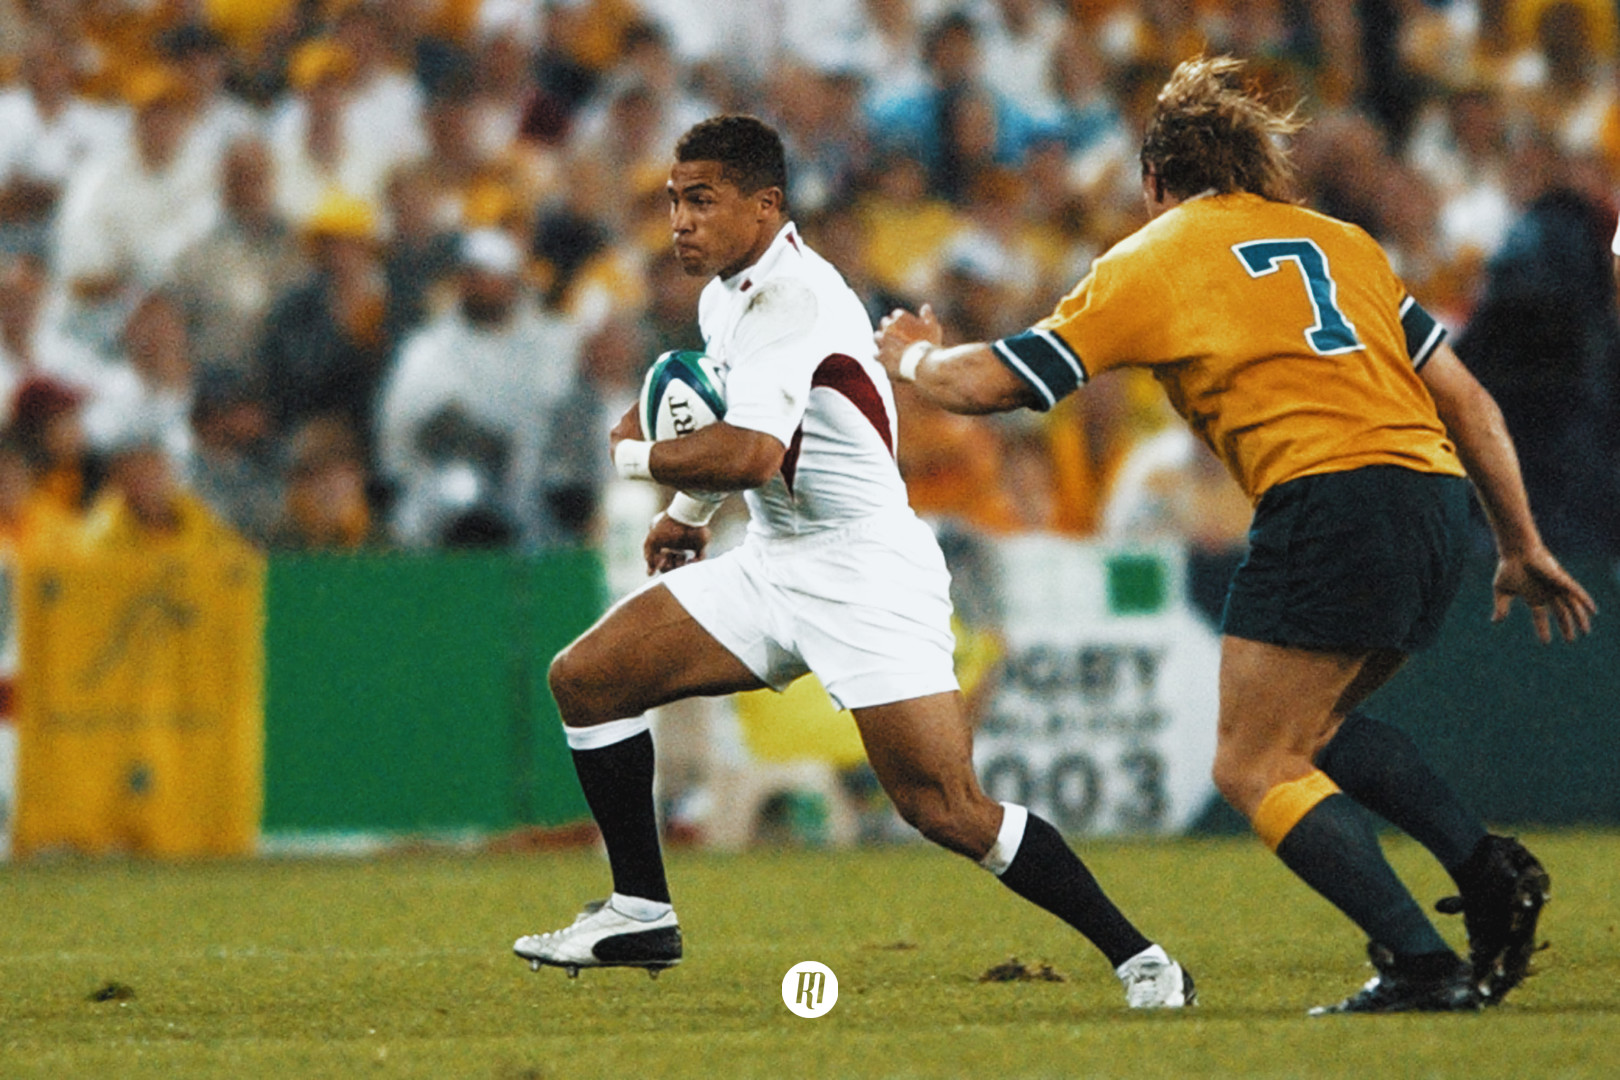
Leading into the game England had named Josh Lewsey at 15 with Jason Robinson at 14. Throughout Woodward's tenure these two players had often interchanged. However, despite the fact Robinson wore the 14 jersey, he often settled into the fullback position because of his ability to launch counterattacks and Lewsey’s destructive defence on the flank.
As such, when the two teams engage we see England set up to defend this Australian attack with Lewsey defending at 14, and Robinson at 15.
Importantly though, as there was no 5m law on the scrum at that point, Cohen is defending right up to close on the blindside from a pick and go.
Spotting this, and knowing England shoot up with Lewsey in a third centre position, Australia sent Lyons into Cohen's channel, making him bite in (if not commit).


It’s not a mistake by Cohen, it’s just Australia exploiting the system. But with Cohen unable to cover back, and without a sweeper while Dawson was close up by the ruck, Robinson is unable to go early, meaning he is now defending the entire backfield on his own:

It’s enough, and with Larkham taking the ball on the move he pulls the English defence up onto him:
Then he fires the high crossfield bomb, pitting the superb athleticism of Lote Tiquiri against Robinson in the air.

The result is a perfect catch and place from Tiquri and Australia take a shock 5-0 lead.
It’s a wonderful strike play directly from Australia’s observation of Englands set up, using their ability to recognise the fact that Robinson, as good as he is, can’t cover an entire backfield on his own.
It’s also a try born of English ill-discipline, a trait that would cost them dearly in the game with England conceding 14 penalties compared to Australias 8. Worse, 9 of England's penalties were in their own half, allowing Australia to work their way back into the game, continually remaining within touching distance of England when they should perhaps have been out of it.
England strike back
It takes just over 30 minutes for England to strike back. They’ve built a lead through penalties but at 38 minutes, and not to be outdone, they strike with a fantastic set play off a lineout.
It’s a relatively simple strike move by today’s standards, but it’s executed so well that it’s something many modern teams can learn from.
England first punch into the gain line with Will Greenwood carrying off Wilkinson.

It’s a good carry and Greenwood almost gets back to the gain line, but importantly it places the Australian pack and the bulk of the defence on the wrong side of the ruck to fold around and set.

Seeing this, Mortlock calls frantically for support:

When Dallaglio comes around the corner this leaves Mortlock and Sailor as the final two defenders against Dallaglio, Wilkinson, Robinson and Cohen coming onto the ball with momentum:

Sailor bites in and meets Dallaglio, which importantly allows Wilkinson and Cohen to cut inside and take the pop pass from Dallaglio:

This means Australia realistically only have Rogers defending a left and right option:

There is perhaps a better inside option for Wilkinson, with Cohen unmarked and likely to go in under the posts:

But, Wilkinson connects with Robinson and the rest is history as the latter going over in the corner for a sensational try.
It may not be the moment that won England the game but it was certainly the moment that sat an Australian team renowned for it’s attacking ability down and made them realise they needed a bit more than they had shown.
There was obviously more to the final than those two tries, but it would take far more time and space to fit everything in. The obvious drop goal, Elton Flately’s ice-cool kicking and play to keep England in the crosshairs, for example.
Dawson's eye for the gap, Robinson's capacity to return the ball a good 10-20m before anyone even put a hand on him and, importantly, England's ability to recognise where they were failing and change their tactics. The lineout was a perfect example of proving their ability to perform and turn things around when under pressure.
Hopefully, this little piece of analysis gives you a taste of why, for me, this stands out as one of the best finals in Rugby World Cup history.
![]()
Filed under:
International, Rugby World Cup, Match Analysis, Australia, England
Written by: Graeme Forbes
Follow: @@thedeadballarea · @therugbymag