Beauden Barrett and Richie Mo'unga: unlocking rugby's cheat codes
If you fire up your trusty YouTube tab and search for rugby highlights from the last decade, New Zealand's Beauden Barrett will feature prominently. The once-Hurricanes-now-Blues standoff and 73-time All Black often seems to have rugby's cheat codes written on his wrist strapping. A living, breathing highlight reel. But now, with Crusaders Super Rugby star Richie Mo'unga standing in at ten for the All Blacks and Barrett shifting to his secondary position of fullback, All Blacks boss Steve Hansen seems to be the man in possession of the latest cheat codes.
As ever, the All Blacks have been at their least co-ordinated and most vulnerable at the start of their international season this year with unconvincing, yet undefeated, performances against Los Pumas and the Springboks.
I can recall slow starts and gradual builds for the three-time World Cup winners in summer series against England in 2014, Wales in 2016 and France in 2018. Gradually building from narrow escapes in their first Tests to runaway victories in the third and final fixture on all three occasions. Their start to 2017 against the British and Irish Lions stands as one of the few exceptions, having won the first game of the series in brutally clinical fashion.
Steve Hansen’s side seemed sloppy against the Argentinians in their first outing in 2019, and it was much the same during the first 36 minutes of their performance last weekend in a 16-all draw against the Springboks.
In equally typical All Blacks fashion, their response to 116 minutes of slovenly rugby was to see prodigious centre Sonny Billy Williams conspire with Beauden Barrett to counter an aggressive, out-to-in rush defence from the touring South Africans.
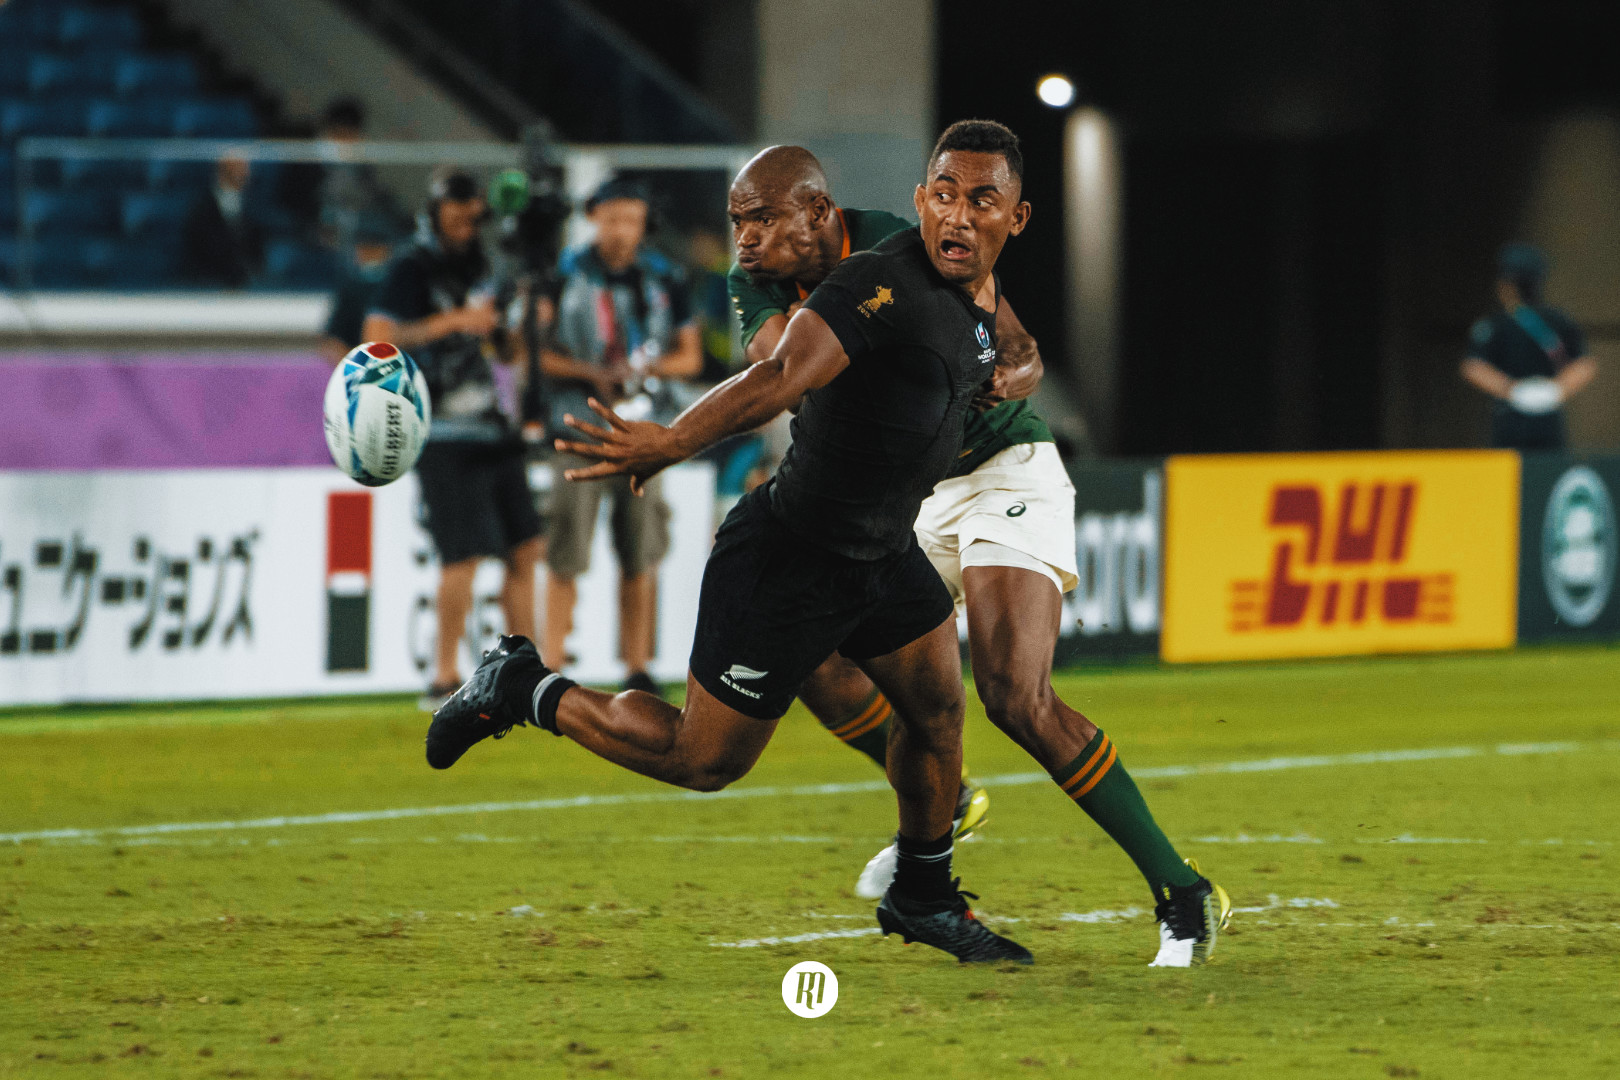
After a hurried defensive push from the Springboks immediately following an All Blacks turnover, the renowned centre’s half-second pause was long enough to draw not only Saffa outside centre Lukhanyo Am, but leave left winger Makazole Mapimpi on his heels, neither jamming in far enough to force SBW to pass directly over him and risk an intercept, nor staying wide enough to cover the space between outside centre Jack Goodhue and Barrett. The Springboks had been employing an out-to-in defensive system all day at Westpac Stadium, but having to change so sharply from offence to defence, SBW managed to make the most of his side's turnover advantage.
See the image below where Mapimpi, once SBW has taken his brief pause, finds himself too deep and too narrow to execute the defensive system South Africa found such joy from for most of the day.

This, in turn, opened up a gap for Barrett to slice through once SBW used those tentacle-like arms of his to float the ball into his fullback’s eagerly awaiting mitts.

Making the most of Mapimpi's narrowness, Barrett duly hits the gas and sprints up the field before finding Goodhue.

Running a classic Super Rugby-style inside support line, Goodhue goes over to steal a 6-7 half-time lead, with New Zealand having struggled for the vast majority of the first period.


In this typically Kiwi response to an impressive showing from their opponents and a sloppy opening period from themselves, the All Blacks displayed the terrifying potential of the Richie Mo’unga-Beauden Barrett 10-15 combo. This combination allows Barrett to either operate at first-receiver, while Mo’unga is indisposed or utilised elsewhere, or come sprinting into the line on the counter-attack, as above, or in the second wave of attack. The ability to allow Barrett to use his supreme pace, rivalled only by wing Reiko Ioane, and the skills borne of his career as an international fly-half in these wider channels is something that should spread significant concern amongst the minds of international defence coaches.
In this dual playmaking axis, the All Blacks have discovered that the season-ending ACL injury that ruled fly-half/fullback Damien McKenzie out of the World Cup is not as disruptive as first thought. The Mo’unga-Barrett tandem has proved itself just as potent as its predecessor, Barrett-McKenzie - and may yet prove to be an even more terrifying blend.
McKenzie’s tendency to throw miracle passes that have resulted in multiple intercepts and unforced errors has been a regular theme throughout the Super Rugby star’s 23-cap Test career to date but was the price to pay for the sheer magic the diminutive playmaker was prone to producing. But, with steady-handed Mo’unga at ten and two-time World Rugby Player of the Year Barrett shifted to McKenzie’s spot at fullback, this same risk, as of yet, is non-existent.
Against Argentina last week, with Barrett as the only playmaker outside of Aaron Smith at nine, New Zealand turned to Highlanders fullback Ben Smith at first-receiver on a handful of occasions. While ‘Ben from accounts’ is scarcely going to let his side down in that position, he is significantly less prepared to do so than any of Barrett, Mo’unga or McKenzie.
Furthermore, fielding both Mo'unga and Barrett hands Hansen the ability to place three of the best backs in world rugby, at current, into the same starting back three. Usual fullback Ben Smith shifts onto the right wing, a position as of yet unclaimed, and the terrifyingly fast, terrifyingly young Reiko Ioane retains the iconic 11 jersey elevated to such distinguish by the late great Jonah Lomu.
Barrett started the match in Wellington as New Zealand's placekicker, but after missing two out of four kicks over the first 55 minutes, Mo’unga was handed the tee; the former building up a reputation as the more reliable kicker of the two. With McKenzie gone this also gives New Zealand a fullback with pace to match the nippiest wingers currently in operation, making second wave attacks led by the fullback that much more potent. When a fullback has pace worthy of a top class winger, gaps in defensive lines become exaggerated.
We’ve seen how much better South Africa’s attack has become since the return of Willie le Roux as a playmaker, while promising sounds have been heard from Kurtley Beale's fledgeling career in the fifteen jersey once occupied by Israel Folau. The dimensions Scotland's Stuart Hogg and England's Elliot Daly bring to their own international sides' attack are further examples of how beneficial it is to have a playmaker hitting the line at pace from the backfield. Starting Barrett at fullback for the All Blacks echoes this point, and is perhaps the closest thing to an amalgamation of everything that is good about the aforementioned quartet.
Stationing Barrett at fullback is far more than merely adding a playmaker in the backfield, it's the ability to field the best footballing rugby player in the world in your back three. For the aforementioned try, Barrett's supreme speed struck the killing blow, the final draw and pass was a relatively straightforward manoeuvre, requiring only a cool head under pressure. This final move won't always be as straightforward, and will regularly demand quicker thinking in a shorter time frame. This is where Barrett can excel for the All Blacks, where he can flip the switch and go into highlight reel mode, doing the things that only he can and what others are already doing. The potential is quite disconcerting.
Whether Hansen is as happy with this new backline balance as the rest of the world is nervous is yet to be seen, and will surely need further testing before it can be considered first choice. After all, the Springboks found some joy in targeting Barrett’s positioning in Wellington, and it’ll take a few more appearances for everyone to nail their lines.
With a potential back three of Smith, Ioane and Barrett and an ice-cold goal kicker and three-time defending Super Rugby champion at fly-half in Mo’unga, Hansen’s backline strikes a balance that almost seems unfair, and is definitely a major concern for any contemplating tackling the three-time World Champions in Japan. The true test of this combination now rests on Mo'unga's ability to convert his Crusaders form to the Test arena and, to a lesser extent, Barrett's ability to reintroduce himself with the positional demands of a fullback.
![]()
Filed under:
Rugby Championship, Match Analysis, New Zealand
Written by: Alistair Stokes
Follow: @alistokesrugby · @therugbymag