Match Review: Australia v New Zealand
Australia won the 2015 Rugby Championship with a tense but well fought 27-19 victory over the All Blacks, their first triumph in the competition since 2011.
Australia won the 2015 Rugby Championship with a tense but well fought 27-19 victory over the All Blacks, their first triumph in the competition since 2011. They will undoubtedly hope that this bodes well for the Rugby World Cup, but will harbour memories of the 2011 campaign, which did not convert to a World Cup triumph.
Australia Selection
The biggest talking point of the Australian team selection was the inclusion of both Michael Hooper and David Pocock in the starting line up. Michael Cheika decided that, in order to settle the debate over which one to choose at 7, he would put Pocock at 8 and allow them both to take to the field.
New Zealand Selection
This was arguably the strongest team that Steve Hanson could have fielded, with the inclusion of the debutant Nehe Milner-Skudder on the wing, and Sonny Bill Williams back in the centre. Expectations in the New Zealand camp were surely high, looking to clinch the Rugby Championship title before back-to-back World Cups.
Match Summary
One of the key areas that New Zealand were exposed while playing South Africa was at the breakdown. South Africa arrived quickly and New Zealand should have commit more numbers, so the inclusion of Pocock and Hooper in the lineup in this match looked like a key selection to turn the tide of the breakdown in Australia's favour, and so it proved. Australia started like a horse from the gate, forcing Kieran Read to knock on from the kick off, and dominating the subsequent scrum, a sign of things to come.
The stats were fairly well balanced come the end of the game, despite the feeling that Australia had maintained the upper hand; they were strong at scrum time and strong at the breakdown. These were the key factors that ultimately saw them across the finish line.
Defensive Lines
Early in the first half Australia were slow to come off their line, but the game overall was very scrappy and New Zealand were unable to capitalise on the available space. It felt like both teams were very nervous in the first half, playing cautious rugby, exchanging kicks around the 15 minute mark. Australia then upped the tempo of their defence and pushed New Zealand into the 10-12 channel, well placed for Pocock and Hooper to compete for the ball on the floor. Not only that, both were everywhere during the second half, putting in an excellent tackling display. Twice during the game Australia were close to being caught short, but some excellent game reading from Adam Ashley-Cooper saw him come in off his wing and close down the overlap, putting in try saving tackles 50 metres from the try line.
New Zealand on the other hand kept their high tempo defence up well through the game, but didn't commit the numbers at the breakdown to make a real impact. They forced turnovers, but Australia's retention of the ball was very good.
Attacking
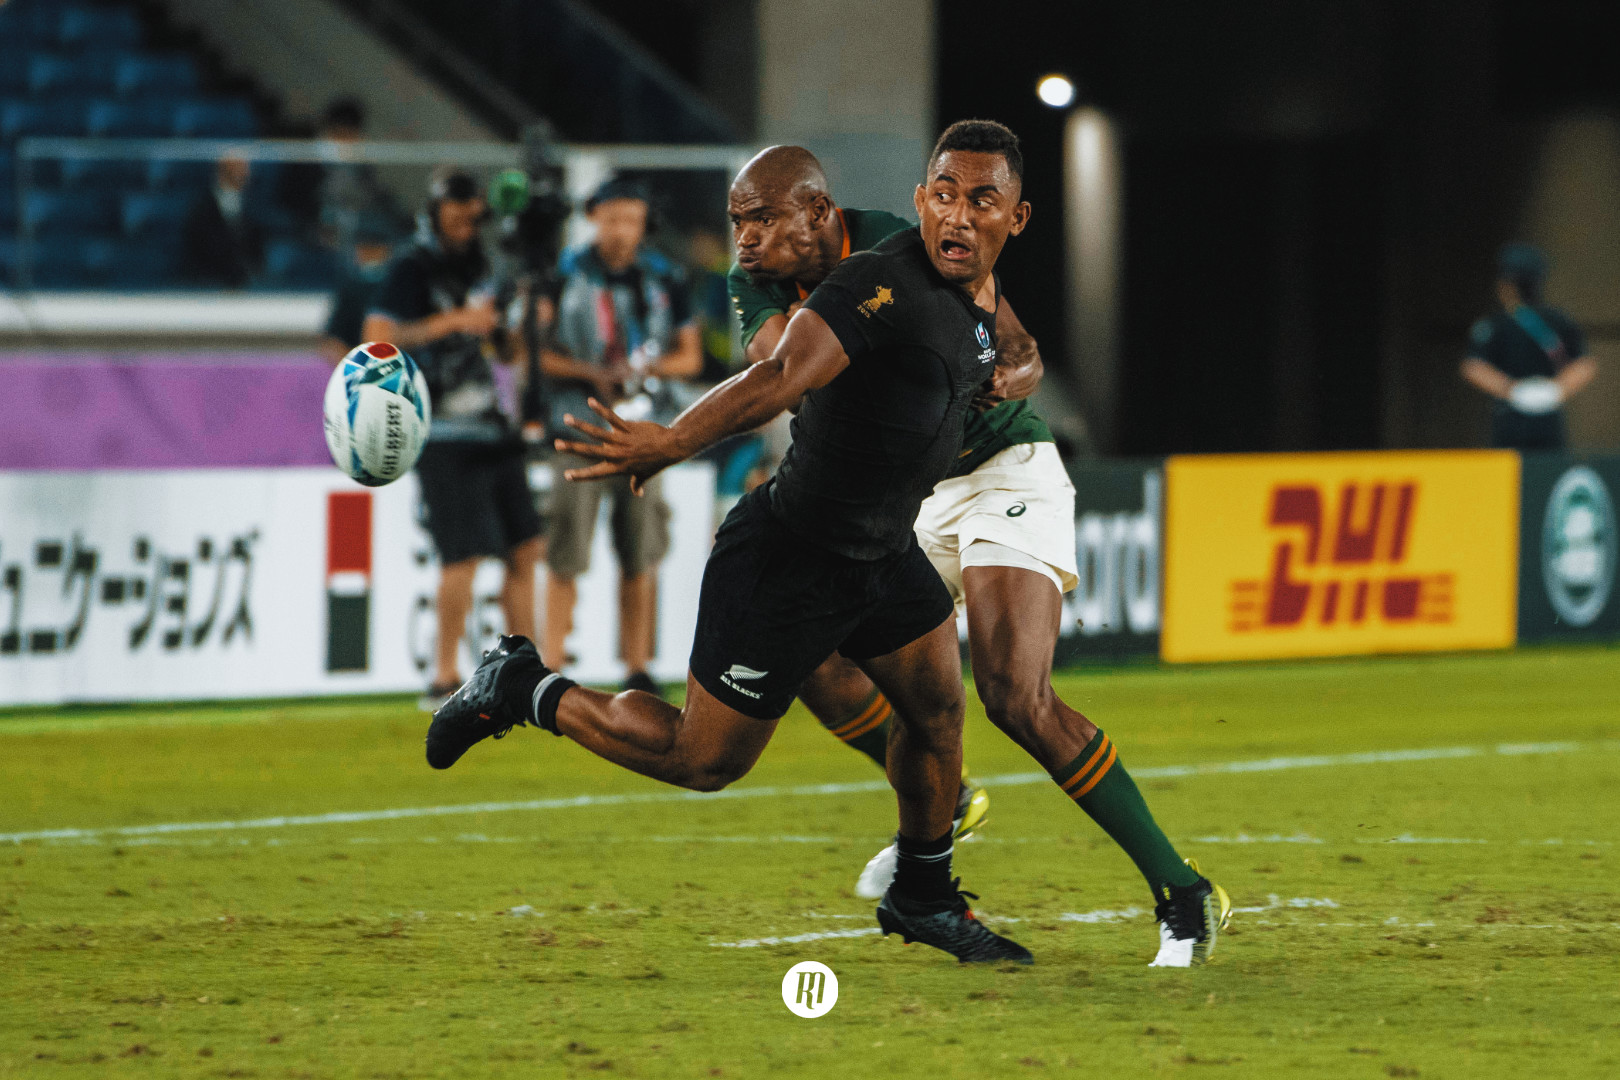
New Zealand were able to play some expansive rugby at times, but as soon as the ball went to the floor they became vulnerable. They looked dangerous with the ball in hand, breaking the line on several occasions and creating overlaps out wide, but Australia's work on the floor undid a great deal of the gains that they made. New Zealand did show in this game why they are such a strong force in the world of rugby, capitalising on the opportunities they were presented with. Milner-Skudder scored two tries on his debut, and apart from two electric runs was otherwise largely quiet. So too was Savea, who might have gone over in the corner had Michael Hooper not put in a superb try saving tackle. Their quietness was perhaps due to New Zealand highlighting the imbalance between Sonny Bill Williams and Matt Giteau in the midfield, and playing to that game plan early on, which brought them into contact with the Australian back row. Carter showed a glimpse of his game management when he put a high ball up for Drew Mitchell and Julian Savea to compete for, but for the most part was quiet.
In the first half, Australia looked sterile in attack. Their passing didn't invite players onto the ball and they lacked any real width or incision in the back line to open the game up, and although their forwards work on the floor ensured Australia held onto the ball, you didn't feel like they were making any real gains from it. When they did however, they wasted their opportunities. Towards the end of the first half, they livened up a little, with Israel Folau running strongly at the defence.
Overall, Australia deserved to win this game, but they contrived not to, especially in the first half: they lacked a playmaker in the midfield, with Bernard Foley not offering Nick Phipps a passing option, with passes from the base of the breakdown going astray on more than one occasion. Phipps was too static in the first half, simply passing from the base of the breakdown, which became very predictable. Nick White came on at 66 minutes and moved forward with the ball, creating space, and drawing defenders in; he also provided the try that saw Australia win the game.
Another key Australian substitution was Matt Toomua, who came on and helped create the incisiveness that the team were lacking. His running lines put the back line on the front foot and drove them forward, and his moment of brilliance saw him put a grubber into the corner for Adam Ashley-Cooper to score.
Conclusion
Once a bit of tiredness had crept in, the game opened up a little and both teams became more expansive in their styles, although that didn't alter the chaotic nature of the game too much. Australia's forwards on the day proved the match winners, winning at scrum time and at the breakdown. New Zealand always have the ability to adjust their game plan to open the game up in their favour, but their lack of commitment to the breakdown left them short changed for the majority of the game.
Australia will be happy with their performance, but will want to ensure their backline can capitalise on the ball that the forwards are winning, focusing on maintaining the incision and width that they found in the second half of the game. New Zealand will be disappointed with the loss, but they didn't play badly. They have been found out at the breakdown, committing small numbers in order to have the players to capitalise on the space, but this eventually brought their undoing.

Filed under:
Rugby Championship, Match Analysis, Australia, New Zealand
Written by: Edward Kerr
Follow: @edwardrkerr · @therugbymag


